Use categories to structure your work visually: they can be assigned to both appointments and file cards and appear there in the colour you choose. That way you can see at a glance what something is about.

1. Open the category settings

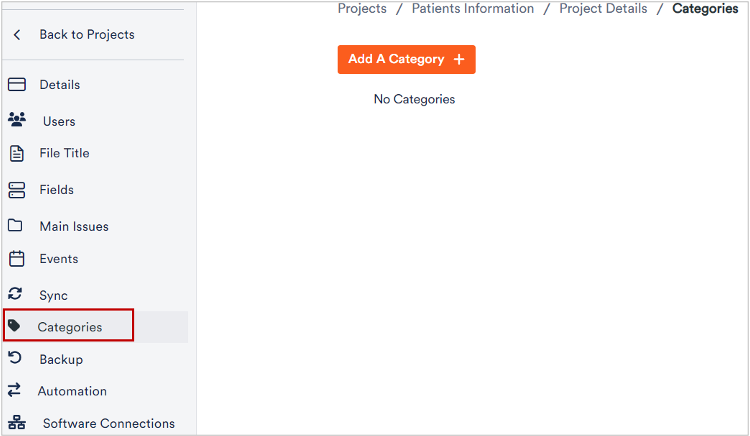
Open the project settings (gear icon in the left rail) and, in the left pane under General, click Categories.

2. Click “Add A Category”

The category settings with the “Add A Category” button highlighted

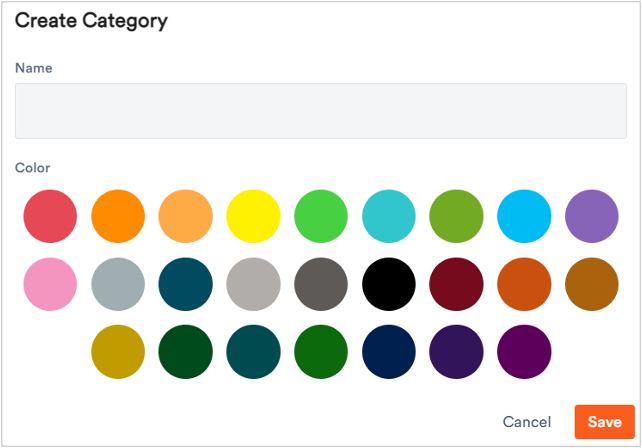
Click Add A Category. The Create Category dialog appears.

3. Set a name and colour

The “Create Category” dialog with the name field and colour palette

Give the category a name and pick a colour from the palette. Then click Save – the category is created and is immediately available for appointments and file cards.

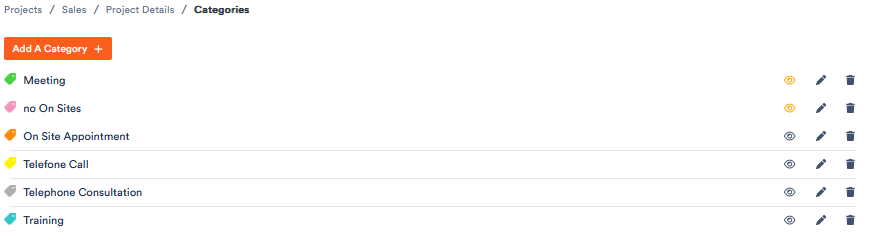
In the category settings you can later also control the visibility (who may see a category’s entries) and delete categories you no longer need.