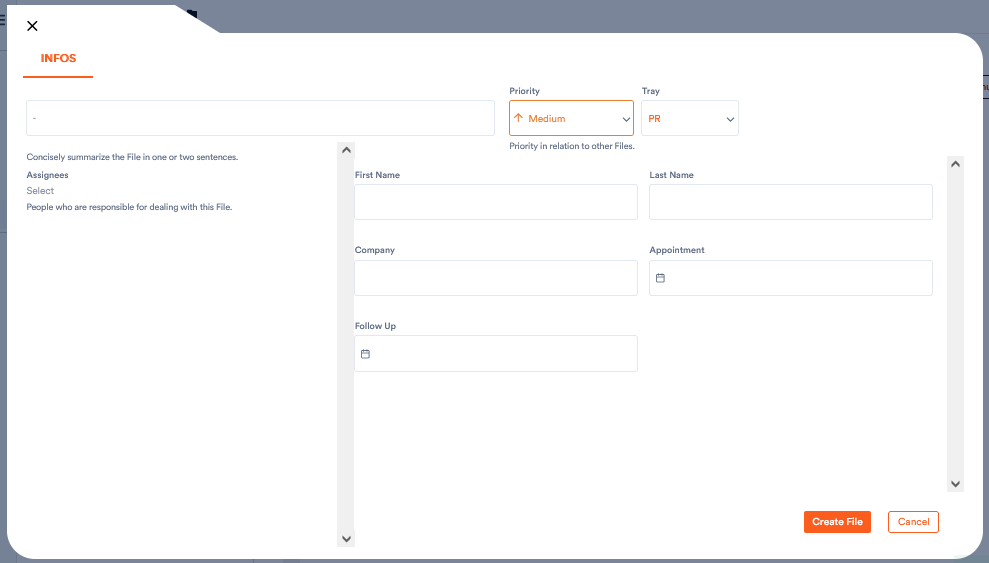
If you want to create a new file, you may initially only have the following options:
Aktenplatz offers you a wide range of possibilities to define the fields in which you can enter the respective client-specific data. In the project settings or when creating a new project, you can add the type of field you need, for example, for customer or insurance numbers, various dates and appointments, comments, categories, and so on.
This article explains how to add and configure fields and how the different types of fields work.
To add more fields, proceed as follows:
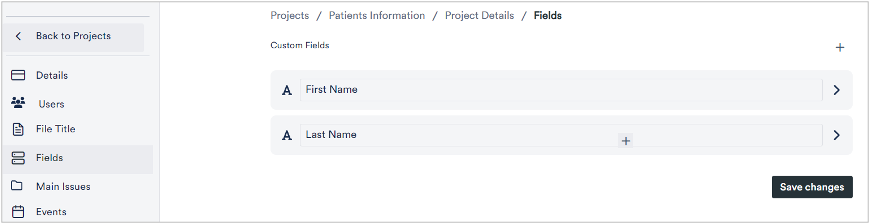
1. In project’s settings page, click Fields.
The fields associated with the project display.
To add a new field.
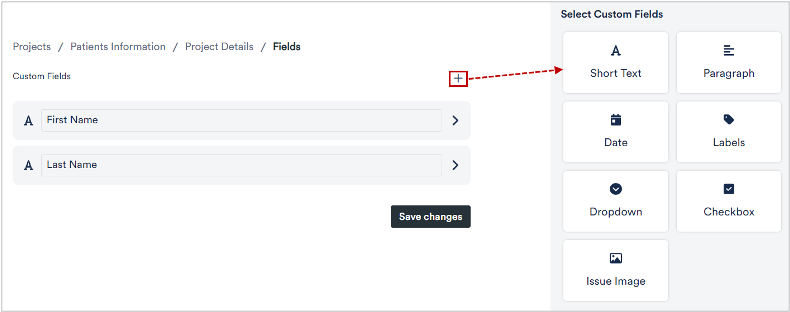
2. Click .
A pane displays to the right where you can view different field types.
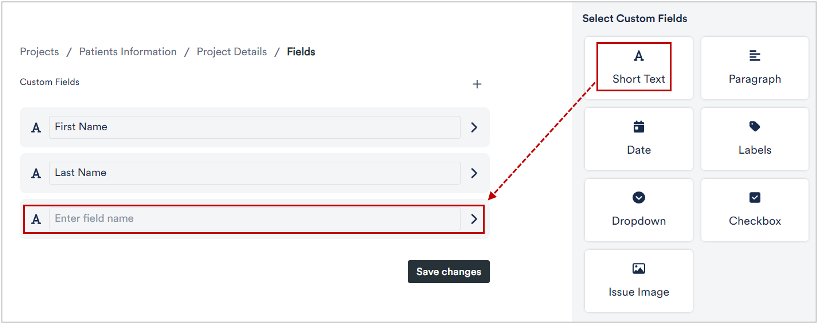
3. Select a field type as required.
The selected field type gets added.
4. Specify a name for the newly added field and click Save Changes.
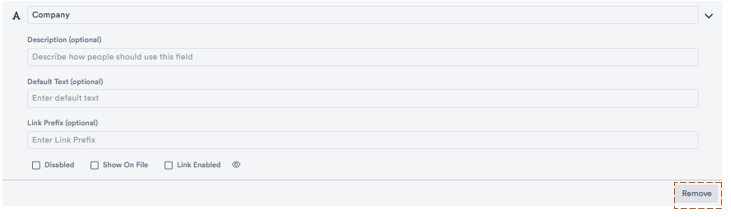
You can also configure or delete existing fields. For example, if you are creating a patient record, the company where the patient works may be irrelevant.
1. Click on the 

 symbol and then on no restriction. A drop down menu appears in which you can choose who is to have access. The field remains hidden for everyone else.
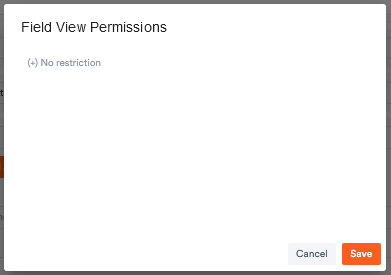
You can also delete the field by clicking Remove.
Finally, you can choose the order of the fields using drag and drop.
There are several types of fields available to you:
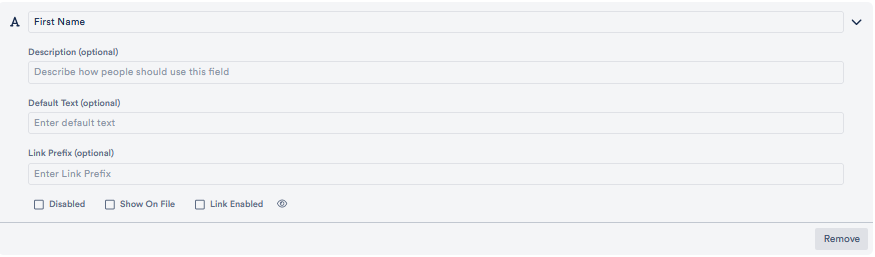
1. Short Text: Here you can enter information such as name, e-mail address or company. (However, it is recommended that you enter the e-mail address separately under Contacts).
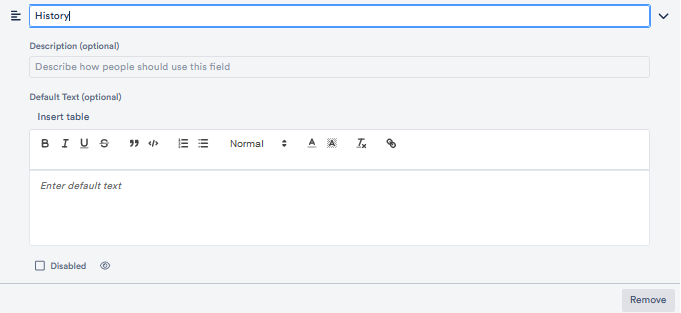
2. Paragraph: this function offers you the possibility of entering a longer text.
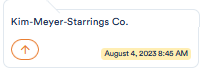
3. Date: here you can create a field for dates, meetings, or deadlines, for example.
You can create several such fields per file, for example for home visits or practice appointments, external or telephone appointments or deadlines and resubmissions.
Under the field settings you can then determine the colour in which this appointment category should appear in the calendar, you can set up automatic appointment suggestions, determine the default duration of an appointment and, if necessary, regular extra time slots and, if you have created a short text field for an e-mail address, determine whether an e-mail with an appointment request or cancellation should be sent if necessary. You can find detailed information about this function here.
You can also decide whether the appointment should appear in your calendar, whether it should appear as a birthday, and whether you want to filter your file overview, for example, by priority or by appointment. Activate the Sortable box for the latter.
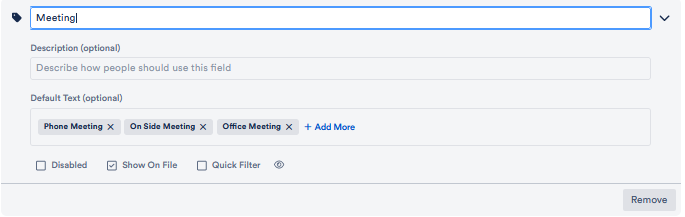
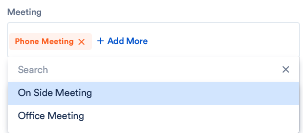
4. Label: with this function you can describe different fields of the record in more detail. Under Standard text, select the options from which you can choose later. For example, “telephone call”, “side meeting” and “office meeting” could be listed there.
In the file you can then choose multiple from these options:
Other labels could be, for example, health insurance companies, the names of your co-workers or customer status.
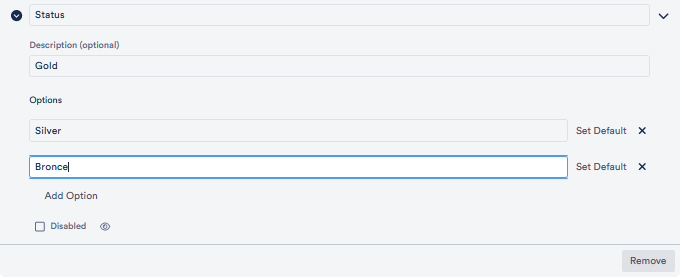
5. Drop-Down Menu: Function and setup are similar to 4. Enter a title for the field and specify the choices under Add Option.
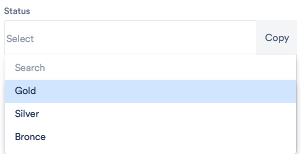
You can then select the right option in the file. Unlike the labels, however, you can only select one option.
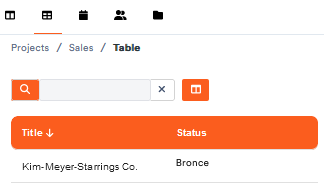
This information does not appear in the file overview of the file, but only when you open the file or in the table view.
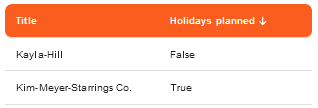
6. Checkbox: Here you can give the checkbox a title. For example, in personnel management you could make a checkbox with the title “Holidays planned” to keep track of your team’s holiday planning. This checkbox also appears when you open the file.
If you now want to sort the files according to whether there is a tick in the checkbox or not, you have two options:

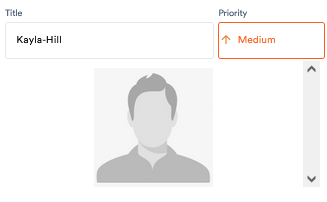
7. Issue image: with this function you can add one image to the file, for example a profile photo. There are no special settings for this function. When you add the field, it appears in the file. By clicking on the field, you can upload an image from your device or from your cloud.