You can create different appointment categories in the project settings to visually structure and facilitate your work. After you have created categories, you can use them in different ways.
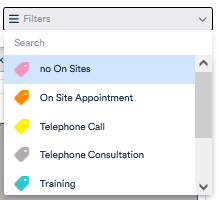
1. You can filter your calendar by category and display only the events of a certain category. To do this, click on Filters in the top right-hand corner and select a category.
If you have assigned categories to your appointments, only the appointments of the respective category will appear.
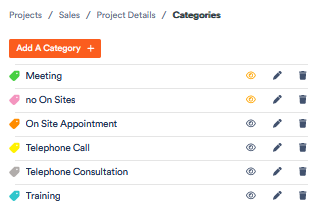
2. In the settings under Categories you can select who is allowed to see the appointments of the corresponding category. The prerequisite for this is that you have created the corresponding user groups.
To restrict the viewing of appointments, click on the 
For categories for which you have added this restriction, the eye symbol now appears orange.
3. You can exclude certain categories from automatic appointment suggestions. If, for example, you keep certain time slots free in the calendar for telephone appointments (and therefore add an appointment in the category “telephone appointments only”), it only makes sense that this time slot is available when scheduling telephone appointments, but not when scheduling external appointments. You can find out how to set this up in the article on automatic appointment suggestions.